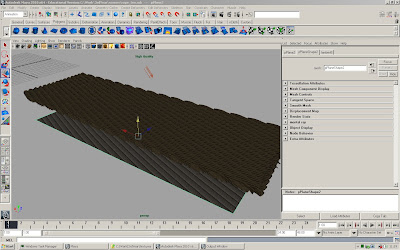
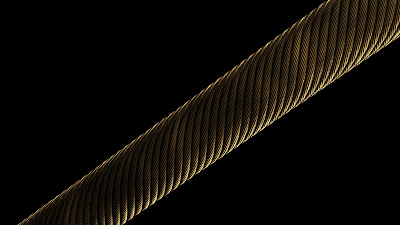
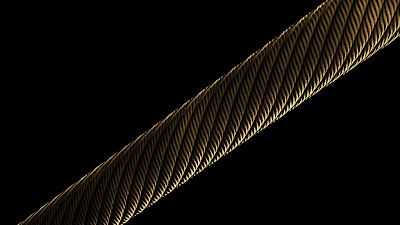
Besides the lighting I also had to create a texture for the ropes in the scene. Andy suggested the rope texture tutorial on http://www.cgtextures.com/. In this tutorial you basically build the texture by lining up a bunch of low poly cylinders in a circle then twist them, combine them into one mesh and duplicate them a few times. I created a low poly plane and put it underneath the rope mesh, then baked a normal map, a shaded map and an ambient occlusion map from the rope mesh onto the plane. To get a good result you have to increase the sample size and the resolution which also increases the time it takes Maya to transfer those maps immensely. It took 2 hours to create those three maps (2048 square resolution, highest sampling rate and 500 sampling size for the ambient occlusion)

A screenshot of the rope mesh with the normal map already transferred onto the poly plane

The shaded map.

The ambient occlusion map

And the normal map
After Maya finished the transfer mapping I could import those textures into Photoshop to create the final texture. The main thing is making the texture seamlessly tillable. I also multiplied the ambient occlusion map with the shaded map. It's important that all the changes on the shaded map match up with the normal map otherwise they wont fit together anymore.

This is the finished rope texture. Seamlessly tillable and with a bit of colour variation to make it look less dull.

The finished normal map. Also seamlessly tillable and matched up with the rope texture.

A little test in Maya. Both textures applied to a low poly cylinder.

This is probably as close as you can get without losing any information.
(click on images to enlarge)
I didn't know that this procedure takes so long, but I think the result was worth all the waiting.
2 comments:
Hi, you achieved a very nice result.
Can I use those textures in non commercial project? Are they licensed in any way?
Regards,
Hi, Can you please share the maya file.
I am getting the seam, may be my uv's are not properly opened.
Post a Comment